Thursday, January 30, 2014

To Etsy or Not to Etsy?

I am so incredibly flattered that my little blog and handmade items are getting so much attention and praise, not just from my friends and family, but even complete strangers! Little did I know when I started this blog just this past October that people would actually request that I make them something. Nor did I imagine that I could actually win a card making contest, or be asked to have one of my items be published in a magazine! Yes, it's true! I can't believe it myself still...My little Christmas stocking card placed second in a Sizzix product contest hosted by the online store Its Cheaper Than Therapy. Unfortunately they haven't posted photos of the winning cards, so I can't see what my competition was like! j/k! As for the magazine, it's still in the works, but I am still amazed that somewhere somehow someone saw something I made and liked it! Very cool. More on this hopefully later...

So now multiple people have suggested that I start my own Etsy shop. Lately I have thought about it, and though I would love to sell my cards or party banners, I just don't think there's any point in trying to sell them just to make pennies of profit, if that. So I thought about maybe first selling my racing bib and medal holders. One night, I decided to check out the Etsy website and click on "Sell." Whoa. There's a whole lot more to Etsy than I ever thought. Etsy does seem to make it easy to set up your shop, though so much planning I think has to go into it before you can even make your first sell. For example, the shopname. One has to choose a shopname that will hopefully make their shop stand out and be easily searched for. That's a lot of pressure already. And then there comes the knowledge that for every item you list, Etsy gets paid $0.20. For every sale you make, they also take 3.5%. If the buyer pays via PayPal, another percentage goes to them too. So now I know why things on Etsy cost so much more than just merely parts and labor. 

These are just the tip of the iceberg. I had to take a crash course in copyrights and trademarks. So apparently there are some things I can and cannot sell. I can't sell things with Disney characters on them. Nor can I sell the medal holder with Nike's logo "Just do it," like I had made for my friend Yas. So now my focus is on what I CAN sell, like phrases from literature more than 95 years old apparently, due to the expiration of copyrights.  

Taxes are another consideration. I learned not only about charging taxes on items I would sell, but also having to report what I've earned on my income taxes. So now, in addition to my MD degree, I guess I also have to earn an MBA, JD, and CPA!! Zoinks! And I would do this, why? Does the world really need more medal/bib holders made specifically by Jackie Heckman? Will it make me happy or will it make me hate crafting? Will I have the time? There are so many questions that I still have yet to answer for myself before I take the plunge.

For now, anyone who wants something made by me can just ask. No Etsy middleman to think about quite yet.

Thanks for reading, as always...

Thought I would end this post with photos of an item made for another happy "customer." It makes me want to read more Shakespeare again...

Coming to an Etsy store near you...maybe


It's hard to tell, but the vinyl is actually silver


Just Married Wedding Day Card

I wanted to make an extra special wedding day card for my good friends. Danmy and I have been crafting together and for each other ever since college. I used the Tiddly Inks Love Fully stamp, and I tried to imitate what the couple actually wore on their wedding day. I am still just a beginner I must admit when it comes to coloring with alcohol markers, and I am enjoying the challenge of how to color hair and clothing. When I decided to mat my colored image on gray cardstock, I looked into my drawer where I keep my stash of embellishments, and came across the cute gray and peach paper flowers. These just happened to be the same colors Danmy was originally thinking of as wedding colors (see earlier post about Craft Day). I embossed a white piece of cardstock with a heart pattern and matted it with matching peach cardstock. The "Just Married" stamp from the Fiskars stamp set is actually one stamp, but after stamping, I merely cut it into two separate banners in order to fit them just right on the card.


It's all about the details: Wink of Stella, polka dot bow die, and Glossy Accents on the roses.


Congratulations Danmy and Ray!!

Sunday, January 26, 2014

Card Making with My Niece

Last weekend we had family in town from Las Vegas to celebrate the first birthday of my cousin's daughter. I thought it would be fun to show my niece how to make a birthday card. She loved all the steps, from stamping to coloring with my alcohol markers and adding sparkle with Wink of Stella and Glossy Accents. A future card maker in the making? Perhaps!


Kayla's Card on the left, mine on the right

Baby Cards

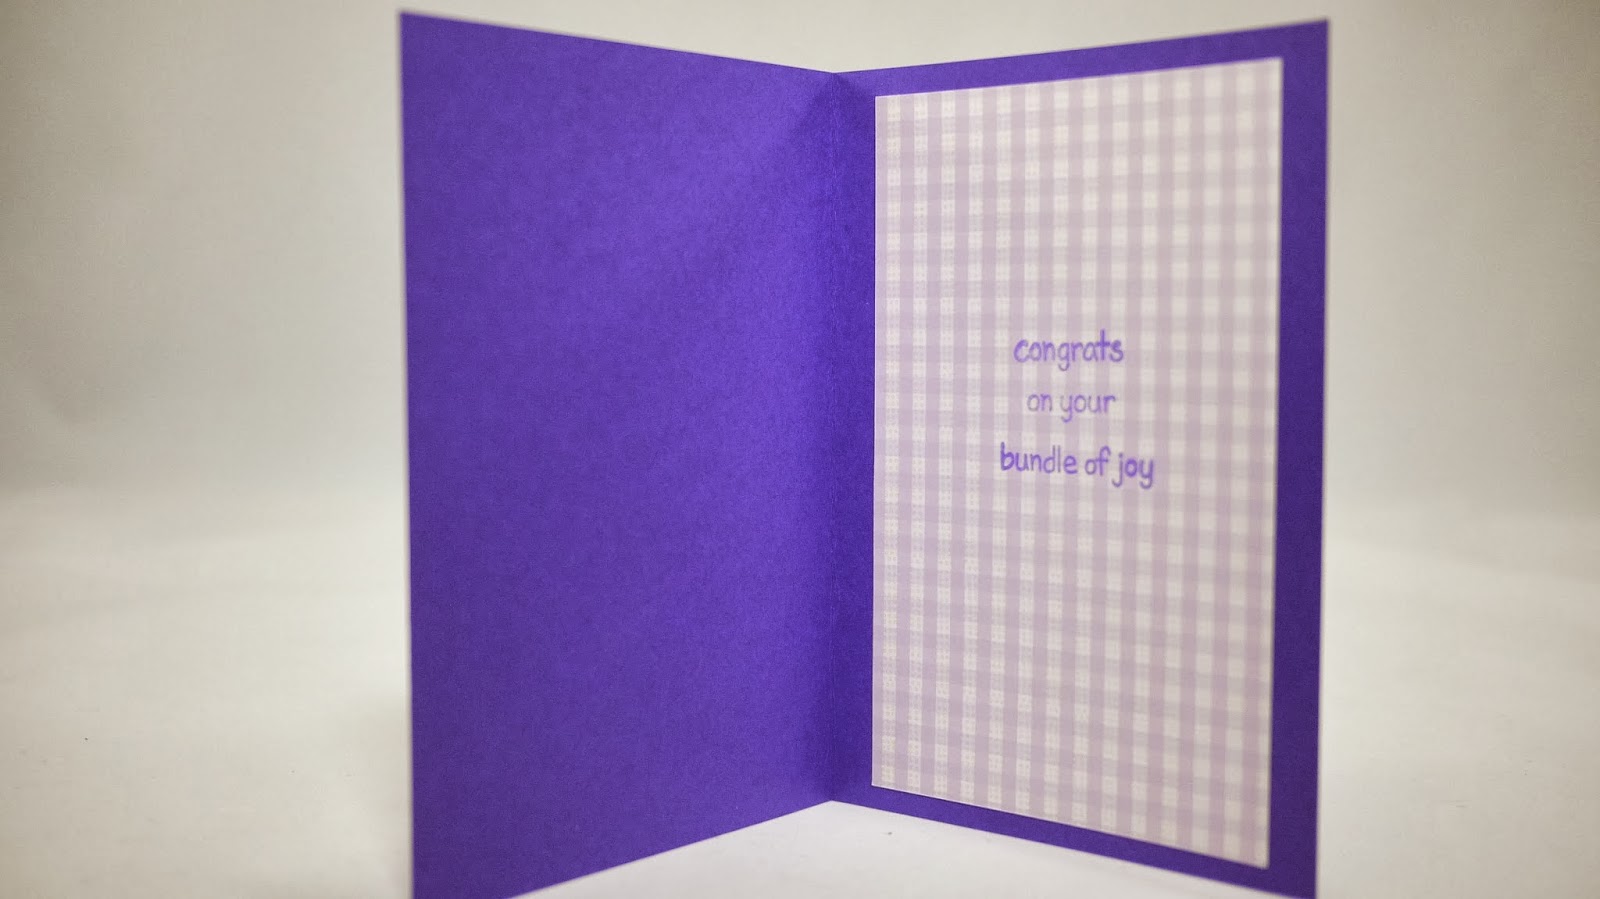
So many babies being born! And so many to come! I have been a busy little bee making cards for my friends and their babies/babies-to-be. It has been so exciting to receive such great news from our friends. Here are the cards I have made this month:


I stamped and colored this cute image from Lawn Fawn, and placed Glossy Accents over the oven window to make it look like glass.


Another Custom Running Medal & Bib Holder

I had not one, but two, special requests for running medal & bib holders since I first posted about the ones I made for myself and two running buddies. Even though I truly think anyone can make these at home, I was happy to make some more and have gotten the hang of it now (no pun intended!). One buddy requested the same exact hanger I made for myself, and I luckily saved the Cricut cut file for "Miles to Go Before I Sleep," so this hanger was super easy to make. For those of you who do have a Cricut, I have found that setting the blade depth to 3 for cutting vinyl works better than the recommended 4--it doesn't snag, and it really only cuts the vinyl and not totally through to the backing, which is what you want.

For the other hanger, I had a special request for a bright green color--aka Sour Apple in the Americana brand from Joann's. The quote my friend Lorin found is one I haven't seen before, and I truly love it...


This is the image Lorin texted me:


and this is what I came up with using the fonts I already had.


My medal hanger has found its home next to my side of the bed over my nightstand, much to the dismay of my husband. I admit, teal doesn't quite match the coffee brown walls of our bedroom, but we literally have no other space to put it-- unless I put it in the guest bathroom! Alas, by my bed is where it'll stay, for now...

Monday, January 13, 2014

Hot Air Balloon Birthday Card

My sister had the idea of getting my mother a hot air balloon ride in Napa for her birthday, and I had the perfect card in mind to go along with it. I used the stamp and die set Blue Skies from Lawn Fawn to create the hot air balloons and inside greeting, and created the sky background using Distress Inks in Dried Marigold, Broken China, and Peacock Feathers--so far my favorite color combo for recreating a sunrise.   


Card for the Mother-to-Be

Here is a card I made recently for a good friend of mine who is expecting her first little girl. The adorable stamp (Uptown girl Brynn Has a Baby Shower) is made by Stamping Bella. The banner letters were stamped using the alpha4banners set from The Stamps of Life. The inside greeting is from the Lawn Fawn Plus One set. It seems to be peak baby season, so I am sure to get plenty of use for all these stamps!


Sunday, January 12, 2014

DIY No-Sew Fairy and 49ers Tutus

The crafting weekend continues!! Only one more week until the Tinkerbell Half Marathon, and I had to come up with my fairy costume stat. My friends and I have each chosen to be a fairy in a different color, and I chose green. My green fairy wings are store bought, but half off at Joann's, so no biggie. For my awesome fairy tutu, I decided to give it a whirl myself. I started off with tulle from Joann's in 3 colors--light green, emerald green, and glittery emerald green. Joann's has cheap tulle 6 inch by 6 yard rolls for $2.50 in various colors, and then longer 25 yard rolls for like $3.50 in other colors. In the end, for an adult tutu that is super fluffy I needed 2 of the 25 yard rolls and 4 of the 6 yard rolls. There are tons of YouTube videos on how to make tutus, but there is one little extra step that I'll share with you that I think makes the tutu even more fantastic. 


BE FOREWARNED:You will have glitter EVERYWHERE! I've taken multiple showers and I still have glitter in my hair and on my face.

Steps:

1. Cut strips of tulle about 25 inches long. I don't know how many I cut, I just kept cutting until I ran out of tulle. For the light green I think I cut them about 27 inches, to give the tutu the appearance of various depths.


2.***extra step: Cut off the ends in a curved "v" shape.

3. Using ribbon measure out your waist circumference, and make a knot in the ribbon on each side to mark where your waist ends, while adding about 10 inches to each side past the knot.  These extra 20 inches will be used to close the tutu and be the tails of ribbon that make a bow.

4. Loop the strips of tulle around the ribbon, in alternating colors. Somehow the light green tulle all ended up underneath with the glittered and plain emerald on top. The tighter you bunch the knots, the more fluffy your tutu will be. Once you've filled in the ribbon between your two knots, you're done!


Cutting the ends of the tulle in a "V" shape gives it more of a flower petal look


In honor of the SF 49ers playing in the playoffs I decided to make baby tutus as well for my Niner-fans-to-be. This time I bought tulle in 4 colors--red, gold, glittered red, and glittered gold. The strips of tulle will be shorter, about 17 inches this time. The nice thing about using a ribbon instead of an elastic waistband is that the tutu can grow with the baby/toddler--you can just loosen how tightly packed the tulle knots are next to each other. I accessorized with Niners ribbons that I found unexpectedly at the Joann's in Santa Monica.


GO NINERS!!!